How do I update my listing's details?

In this article, we are focusing on how to edit each section of your listing. The more information you log into this portion of your listing, the easier it is for members to find and join your community.
Updating The Basics Section
2. Click on the drop down menu at the top right corner of the page, near your account name, and click on My Listings.
3. Find the name of your listing you wish to edit and then select Edit.
4. Once the Edit Listing pop-up box appears, select The Basics on the left side menu.
5. Enter all the information you have on your listing in the categories;
-
Key Information
-
Status
-
Statements of faith
-
Primary Category
-
Secondary Categories
Updating The Contact Info Section
1. On the Edit Listing pop-up box, click on Contact Info on the left panel. 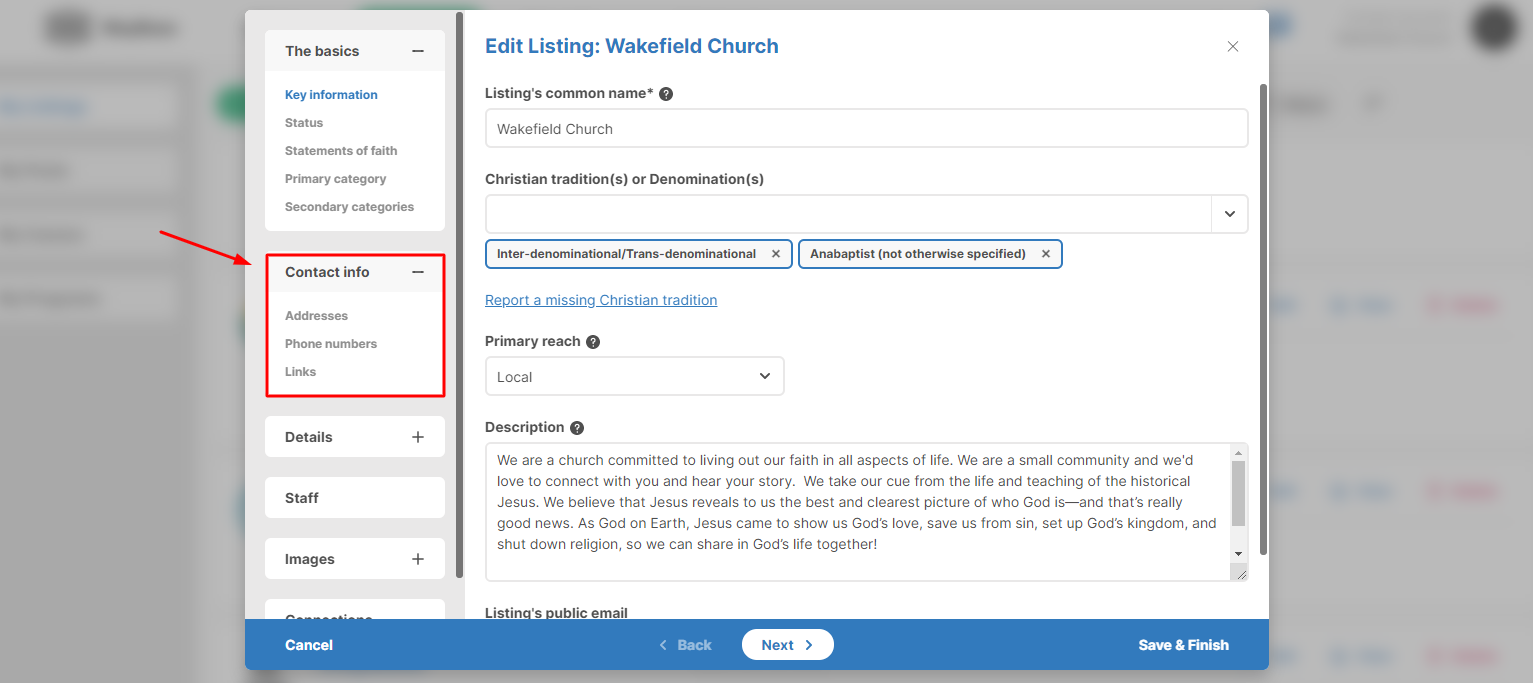
2. Under the Addresses section, you can edit your addresses. Here, you can add as many addresses as needed for your listing by clicking the Add location button. Make sure to assign each address as mapped, mailing and/or office location.
3. Under the Phone Numbers section, you can add or update your phone numbers. You can add as many phone numbers as you like by clicking the button Add phone. This might choose to include your main office, support, admin, etc.
4. Next, complete the Links section, which is your website and online presence. Please update your primary website, links to your social media websites, and a link to your donation page. As each social media link is updated, icons for each social media platform will show up in your listing.
5. Within the donation link section, you can copy/paste the URL that directs those who want to donate to you (e.g. a page on your website, Canada helps page etc.)
6. To add additional links click the Add link button. You can add as many links as you would like in this section.
Updating the Details Section
1. On the Edit Listing pop-up box, click on Details on the left panel.
2. You will first be prompted to complete the Key Information section, which involves all of the following:
3. If your listing has a specific cultural background, you can select that in the dropdown menu. If you can offer your services in different languages, you can select all that apply in the dropdown menu.
4. Next, you can select the age group that you are targeting for your organization.
5. If you specialize in a service, there are a number of specialized options you can choose from that help show what your organization offers, in the dropdown menu
6. Lastly, the final dropdown menu allows you to select the faith streams that best represent your organization or ministry. By not selecting one of the options, you may not show up in the search results when a person filters search results by ‘faith streams’.
8. Next, you can edit the Property and Rental section to list whether your organization owns the listed address or not. Providing this information helps others understand the aggregate value of Christian listings.
9. The next section called Hours in the left side menu allows you to use a drop down menu to list your organization's weekly hours of operation.
10. Lastly, under Service Times, you will be able to list your regular service times, if you are a church.
Updating the Staff, Images and Connections Section
1. Under the Staff section, you can update details of your key staff, including their name, title, image and contact details.
2. To upload the logo and banner image for your listing, click on the Image section in the left side bar.
3. You will see the category of Logo and Photo where upon selecting each category, you will be prompted to upload your organization or ministry's logo and banner image. These images will then be displayed alongside your listing.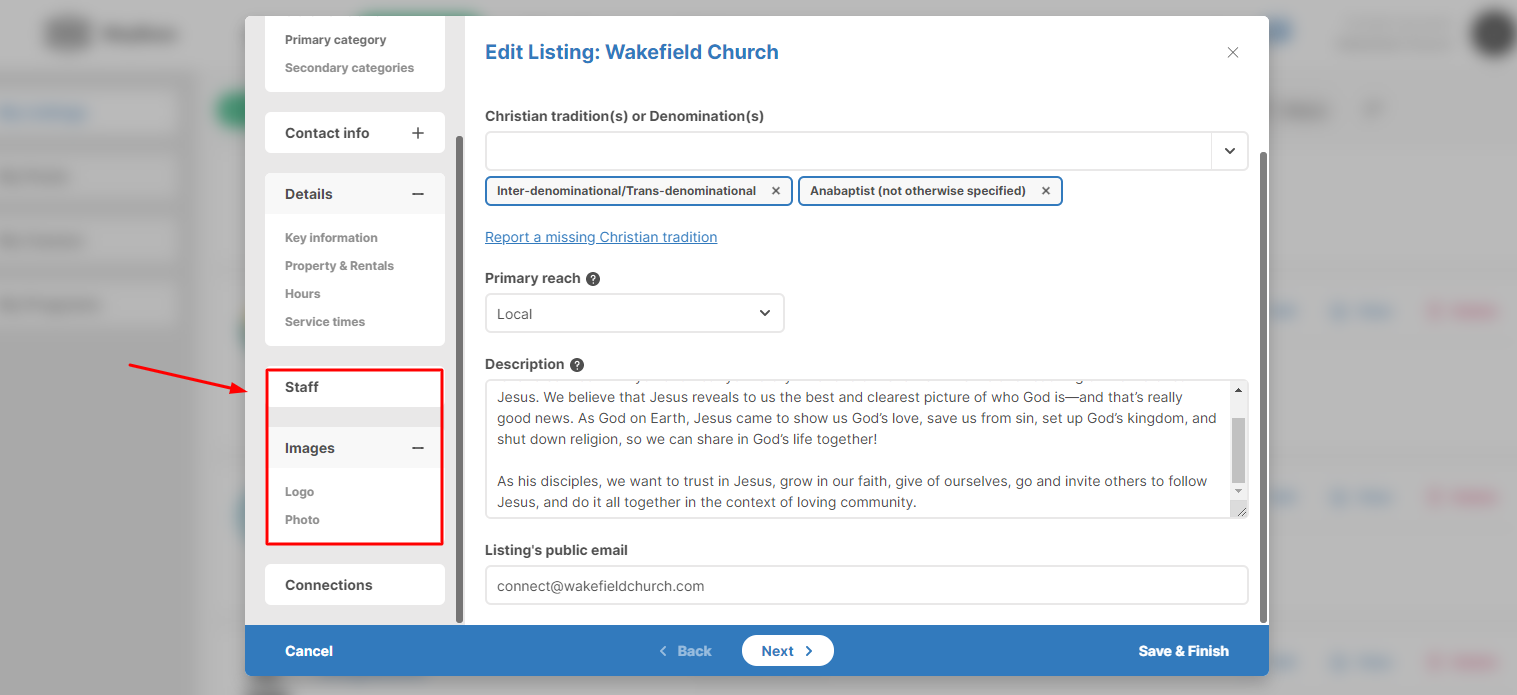
4. To begin editing your connections, select the Connections section, in the left side menu.
5. Use the search feature to search for connections. Once you’ve located your connection click the + symbol to connect with them.
6. Once you send out the request, it will appear in pending connections.
7. Once your connection request is approved, the status of your connection will change from "Pending" to "Established" and will appear publicly on your listing.
Connecting with other listings on WayBase is an important way to demonstrate your collaboration and highlight those listings you are intentionally connected with. The goal isn’t high numbers of connections, but to truly display those you are connected or aligned with in some kind of mutually beneficial relationship (e.g., they are in your budget). Your listing’s connections are public and help visitors on WayBase get to know a bit more about your listing. Either listing can remove this mutual connection on WayBase at any time.
There are 3 types of connections on WayBase.
- Parent Connections: Listings that have authority over or oversee elements of another listing such as: staff, policy, finances, or theological statements.
- Child Connections: Listings that report to or are a sub-ministry of another listing in some way. A child listing will have a parent listing that provides a level of oversight over one or more of the following: staff, policy, finances, or theological statements.
-
Affiliations: Listings that are affiliated or affirming in some way to another listing in a peer-to-peer collaborative and/or mutually beneficial relationship. These can include formal or relational agreements. (Parent or child connections should not be repeated in affiliations.)
Related Articles
How do I edit my account details?
You can edit your profile information, password, notifications settings, plans, organization details and users within your account settings. Login to your WayBase account. Go to the account drop-down menu at the top right corner, and click on ...How do I create a new account?
An account is required to update your ministry information, create a post or cause on WayBase. You could create a personal account as an individual user, or an organization account on behalf of your ministry. 1. In the top right corner, click the ...How do I create a cause?
In order to create a Cause you will first need to have a free account. If you have not yet done so, you can create one here. 1. Login to the WayBase account that you would like to post a Cause for. 2. In the top right corner of your screen click on ...How do I create a new listing?
Our goal is to upload every Christian ministry and influencer in Canada to WayBase. One way to accomplish this is to get ministries to proactively create a listing on WayBase. Before you create a new listing, it is important to check if your listing ...How do I create a discussion and manage content for my ministry?
On the Engage app, users can start conversations in a public community or a private community. All communities are available to users in the Connect tab of the Engage App. A public community can be created by a ministry, inviting interaction and ...